One of my customer had a cancelled project, and I inherited a SuperServer 7048R-TR.
This server had 2 CPU, 64 GB of ram, 2 SAS disk and 4 SATA disks.
I used it as is for my office as NAS and general service server (PostgreSQL, file sharing...). And it worked fine, but it had one major issue. This thing is noisy as hell, even with the fans forced to minimum with IPMI.
A few days ago, one of the SAS drive died, and I used this opportunity to silence it. Here are a few notes about how I did it.
New build
The main problem with the supermicro enclosure is the PSU. It is a very narrow form factor with 40mm fans that are very noisy like plane turbines. I looked for less noisy PSU I could just drop in the existing case, but I couldn't find anything.
Also, I wanted to grow to 8 drives, which would require modification anyway.
After considering a whole new server and different upgrade option, I decided to keep the motherboard, CPU/RAM, SATA drives and change everything else.
The new build is:
- X10DRi motherboard, CPU and RAM I kept from the server
- 4 SATA disks I kept
- Fractal meshify 2 XL
- Seasonic PSU
- Noctua 140mm cooler and 140mm fans
- 2 crucial 480GiB SSD to replace the SAS drivves
I picked the meshify case because I love fractal cases and the meshify case can hold up to 16 3.5" hard drives, which is ideal for a NAS. Also, the case can be cooled very well.
The seasonic PSU is a prime gold PSU 1300W (which is oversized, more on this later). Because I trust seasonic. It is expensive, but I gave up the redundant PSU, so I need something solid.
Noctua fans and coolers are the best, nothing to add.
I took 2 SATA SSD because I don't need nvme performances and they were cheap.
Hardware
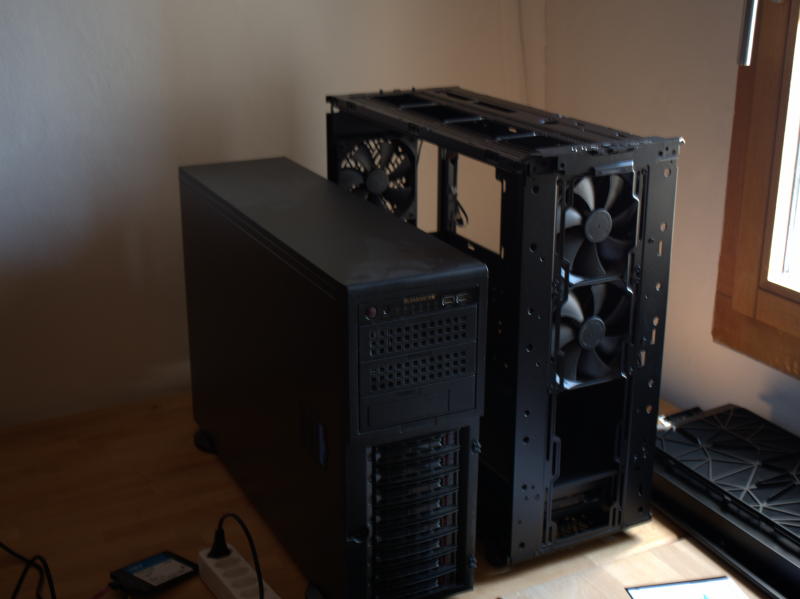
Case comparison, supermicro on the left, fractal on the right.
The supermicro one is much longer/deeper and much heavier than the Fractal one.
This is the existing SuperMicro layout.
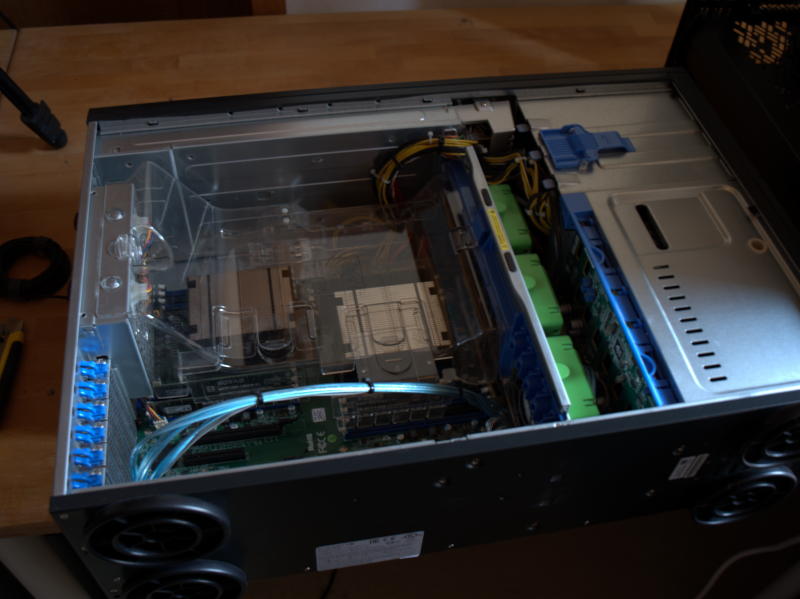
Because the air is forced onto the heatsinks, as they themselves have no fan, it is very noisy. The three green plastic parts in the middle are the main fans which are responsible for a bit part of the noise. The other source of noise are the power supplies.
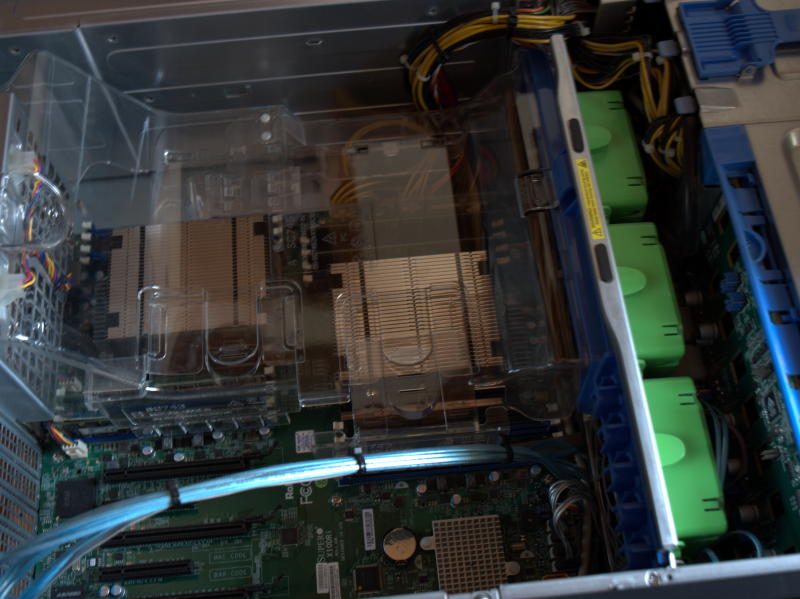
Closer view of the inside of the case.
The extracted motherboard.
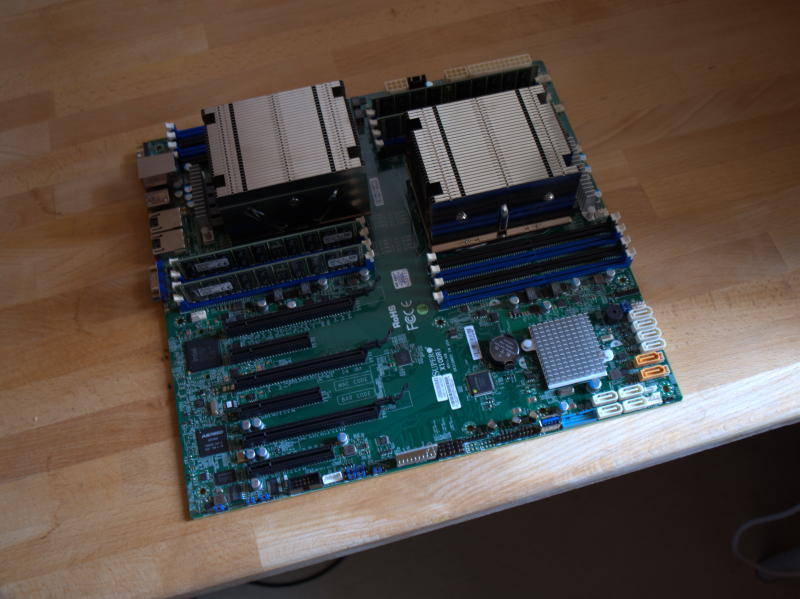
We can see the heatsinks have no fan on them.
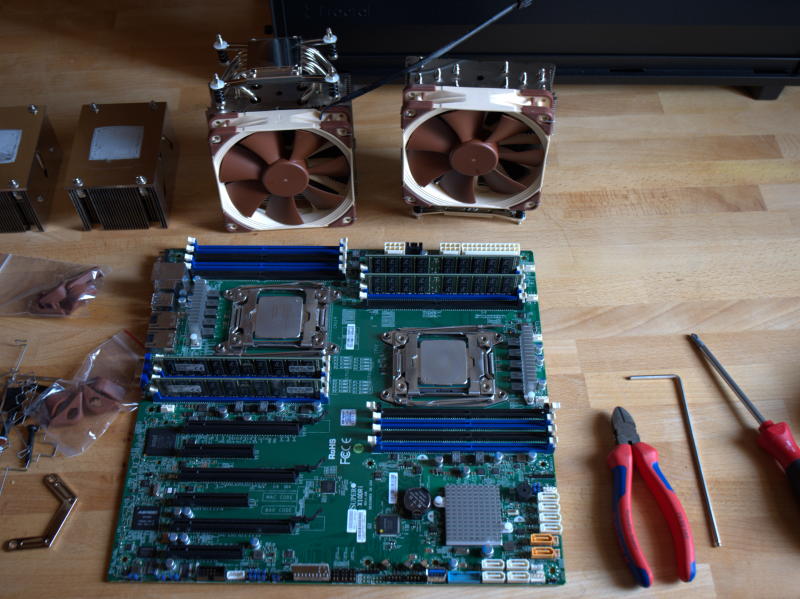
Disassembled motherboard with the Noctua heatsinks.
Assembled motherboard with the Noctua heatsinks.
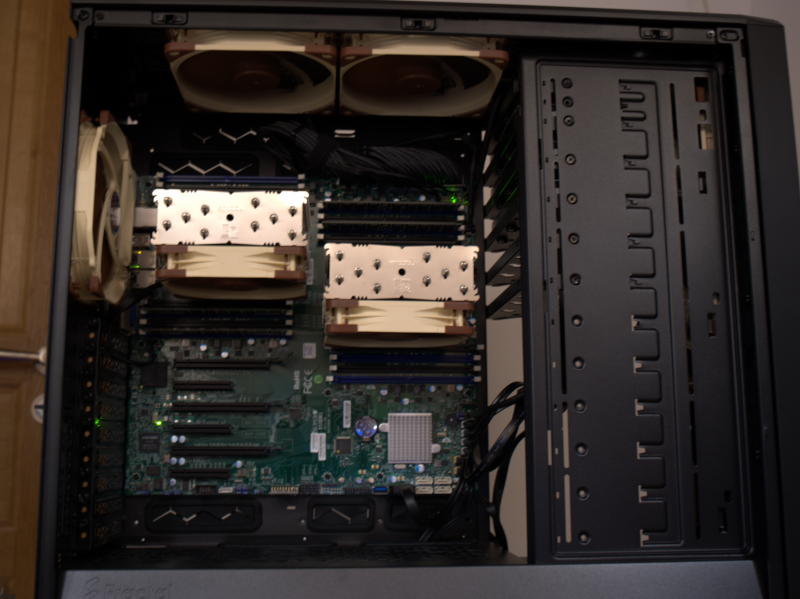
I had to mount the heatsinks at a 90° angle (airflow from bottom to top) because of the memory layout.
The two fans at the top blow the air out.
This new build is totally silent, and I am very happy about it.
Transfering the root partition
Now this is the interesting part. I wanted as little downtime as possible, like two hours (time to move motherboard), and I wanted to keep the existing OS.
I use ZFS, with a root pool consisting of the two SAS drives and a data pool with the 4 SATA drives. The data pool will just be physically moved to the new enclosure, while the root pool will be copied to the SSD.
In the following, yoda [w] is my workstation and vader [s] is my server.
The steps are:
- parition SSD
- snapshot server
zfs send| zfs recvto copy the data- move motherboard into new enclosure
- boot new system
So, I plug the new SSD on my workstation and partition it.
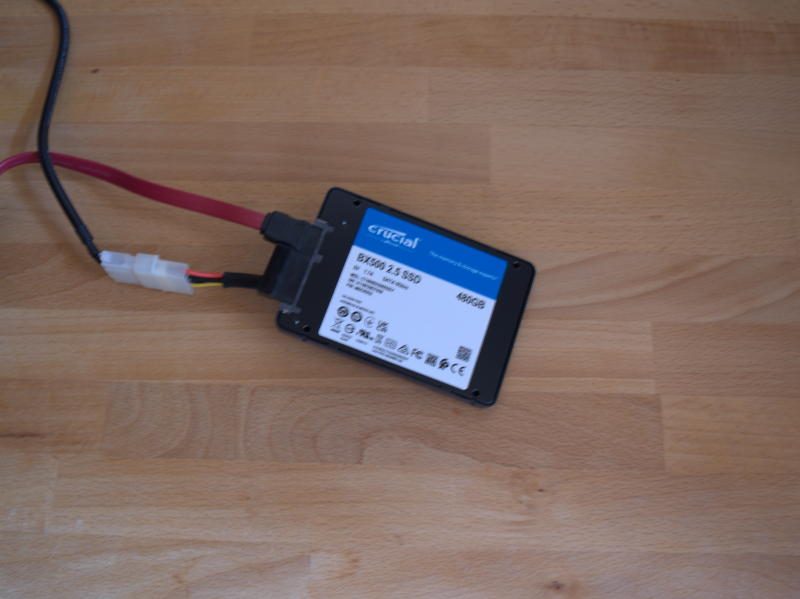
I used to make an EFI partition of 100MiB, but I had trouble with recent kernels, with fallback and everything, they are too big. So now I go with 500MiB.
[w] # fdisk -l /dev/sdg
Disk /dev/sdg: 447.13 GiB, 480103981056 bytes, 937703088 sectors
Disk model: 00SSD1
Units: sectors of 1 * 512 = 512 bytes
Sector size (logical/physical): 512 bytes / 512 bytes
I/O size (minimum/optimal): 512 bytes / 512 bytes
Disklabel type: dos
Disk identifier: 0xa81bd5b9

Device     Boot   Start       End   Sectors   Size Id Type
/dev/sdg1          2048   1026047   1024000   500M ef EFI (FAT-12/16/32)
/dev/sdg2       1026048 937703087 936677040 446.6G 83 Linux
Then create the new root pool.
In the next command:
-Ralt root, we don't want collision with our current pool (my workstation u ses ZFS)-ttemporarily rename the pool on this system, this is also to prevent conflict
[w] # zpool create -R /mnt -t vader zroot /dev/sdg2
This creates a pool named zroot but temporarily renamed vader while imported
in my workstation.
Before snapshotting, you might want to stop all services that write to the disk. You can also do it twice, replicate once (will take a long time) then stop everything and replicate again with another snapshot name.
Then, we create a snapshot of our whole root pool.
In the next command:
-rmake it recursive
[s] # zfs snapshot -r zroot@replication
Now we are ready to transfer the pool data. For this to work, root needs to be
able to log into the target system (yoda here). Just do the necessary SSH key
dance for this to work (you can sudo it too, but it's a bit more confusing).
In the next command:
-Rsend it recursively-Fforce a rollback. Basically this is for replication target.-ddiscard the first element of the snapshot name, this is to havetargetpool/foo/barinstead oftargetpool/sourcepool/foo/bar.-udo not mount received filesystems-vbe verbose with tons of output
[s] # zfs send -R zroot@replication | ssh yoda zfs recv -Fduv vader
If you want to stop everything, and snapshot again:
[s] # zfs snapshot -r zroot@replication2
[s] # zfs send -RI @replication zroot@replication2 \
      | ssh yoda zfs recv -Fduv vader
Then move the EFI partition:
If your partition has the same size, you can use dd, like so:
[s] # dd if=/dev/sdf1 bs=1M |ssh yoda dd of=/dev/sdg1
But in my case, we are moving from 100MiB to 500MiB, and to my knowledge, resizing FAT partition is not possible without losing sanity.
So, instead, we rsync (you need rsync on both machines):
[w]: # mkfs.fat /dev/sdg1
[w]: # mount /dev/sdg1 /vaderboot
[s]: # rsync -avP /boot/ yoda:/vaderboot/
[w]: # umount /vaderboot
Now you can turn off the source system.
Then export the SSD:
[w]: # zpool export vader
Now SSD is unplugged from USB adapter and ready to be mounted into the new system.
I forgot to disable the cachefile and my system did not boot. So, I booted from archiso, and did:
[archiso]: # zpool import -R /mnt zroot
[archiso]: # zpool set cachefile=none zroot
[archiso]: # rm /mnt/etc/zfs/zpool.cache
[archiso]: # arch-chroot /mnt
[archiso-chroot]: # mkinitcpio -p linux
Note: zpool.cache is included in the init image, so you must redo
mkinitcpio otherwise it will not boot.
Before rebooting, replace the UUID in /etc/fstab of the /boot disk.
[archiso-chroot]: # blkid
[archiso-chroot]: # vi /etc/fstab
[archiso-chroot]: # exit
Then export the pool and reboot:
[archiso]: # zpool export zroot
[archiso]: # reboot
As for the power supply, I selected a 1300W PSU, but after measuring the actual RMS power with a DDM, it tops at 0.7A, so on 240V it is 170W. This is with all CPU at 100%.